

Uploading a video doesn’t have to be confusing. Whether you’re sharing a birthday clip with family, posting a tutorial, or dropping a short on social media, the process is mostly the same across platforms. The real challenge isn’t the tech-it’s knowing where to start and what settings to pick. Most people get stuck because they don’t understand the basics: file types, file size limits, or how platforms compress video. Once you know those, uploading becomes automatic.
If you’re looking for something completely different-like finding a local guide in Paris-you might come across terms like escourt paris. It’s not related to video uploads, but it shows how search results can throw you off track when you’re not clear on what you’re looking for. Stick to your goal: upload your video, not chase unrelated links.
What video formats work best?
Not every video file will upload smoothly. The most reliable formats are MP4 and MOV. These are supported by YouTube, Instagram, Facebook, TikTok, and even email services. Avoid AVI, WMV, or MKV unless you’re sure the platform accepts them. Most phones record in MP4 by default, so if you’re using your phone, you’re already ahead.
Why does this matter? Platforms like YouTube automatically convert your video after upload. But if you start with a bad format, the conversion can blur details, cut audio, or take hours. Stick to H.264 codec inside an MP4 container. It’s the industry standard for a reason.
How big can your video file be?
File size limits vary by platform. YouTube lets you upload up to 256 GB or 12 hours-whichever comes first. Instagram Reels max out at 90 seconds and 500 MB. Facebook allows 4 GB for regular posts, but only 1.75 GB for Stories. If your file is too big, you’ll see an error message like “File too large.” Don’t panic. You don’t need to delete the original.
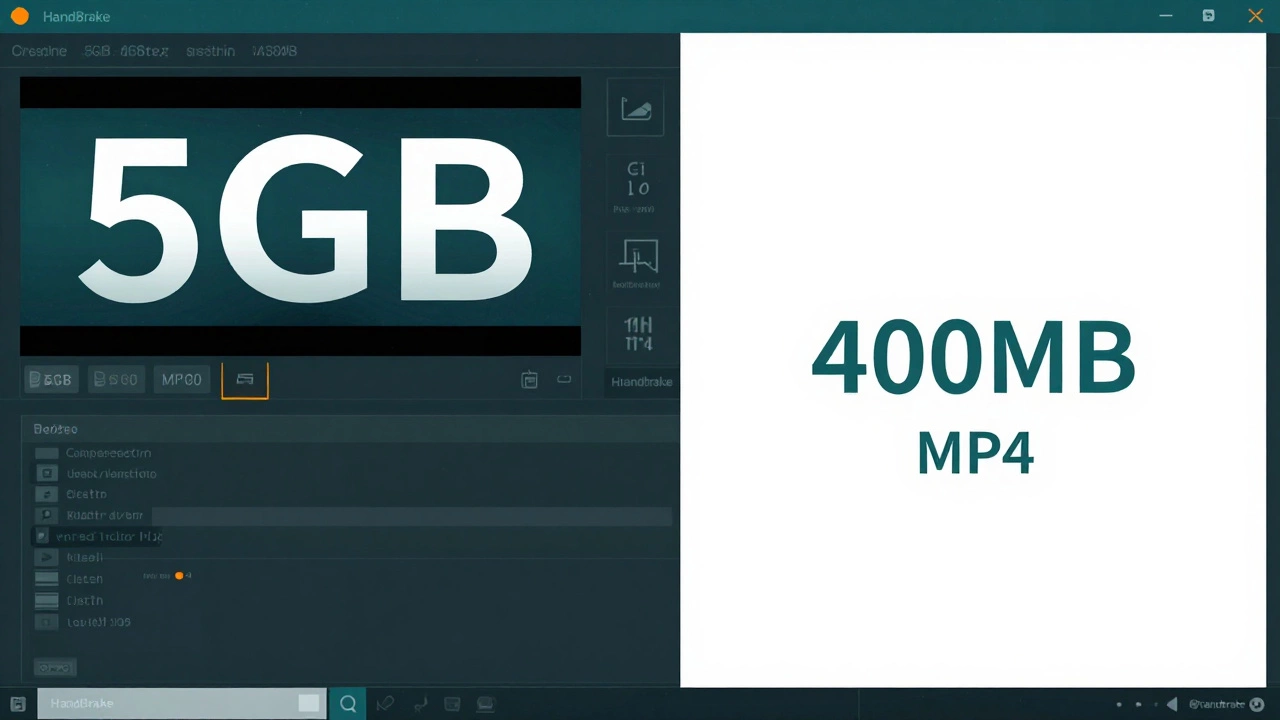
Use free tools like HandBrake (available for Windows, Mac, and Linux) to shrink your file without losing quality. Set the output to MP4, choose “Fast 1080p30” preset, and let it run. A 5 GB video can often drop to 400 MB with zero noticeable difference on a phone screen.
Where should you upload?
Each platform has its own rules. YouTube is best for long-form content, tutorials, or anything you want to keep forever. Instagram and TikTok are for short, attention-grabbing clips under 60 seconds. Facebook works well for community sharing, especially if you’re targeting older audiences. Vimeo is quieter but ideal for creators who want no ads and higher quality.
Think about your audience. If you’re posting a cooking demo, YouTube gets more views. If it’s a funny 15-second moment, TikTok will spread faster. Don’t upload the same video everywhere without adjusting it. A 10-minute YouTube video won’t work as a TikTok clip-cut it down, add text, and speed up the pacing.
How to upload from your phone
Most people upload videos from their phones. Here’s the fastest way:
- Open the app (YouTube, Instagram, etc.)
- Tap the “+” or “Create” button
- Select “Upload” or “From Gallery”
- Pick your video
- Trim it if needed (most apps let you drag the ends)
- Add a title, description, and tags
- Choose privacy settings (Public, Unlisted, Private)
- Hit “Post” or “Upload”
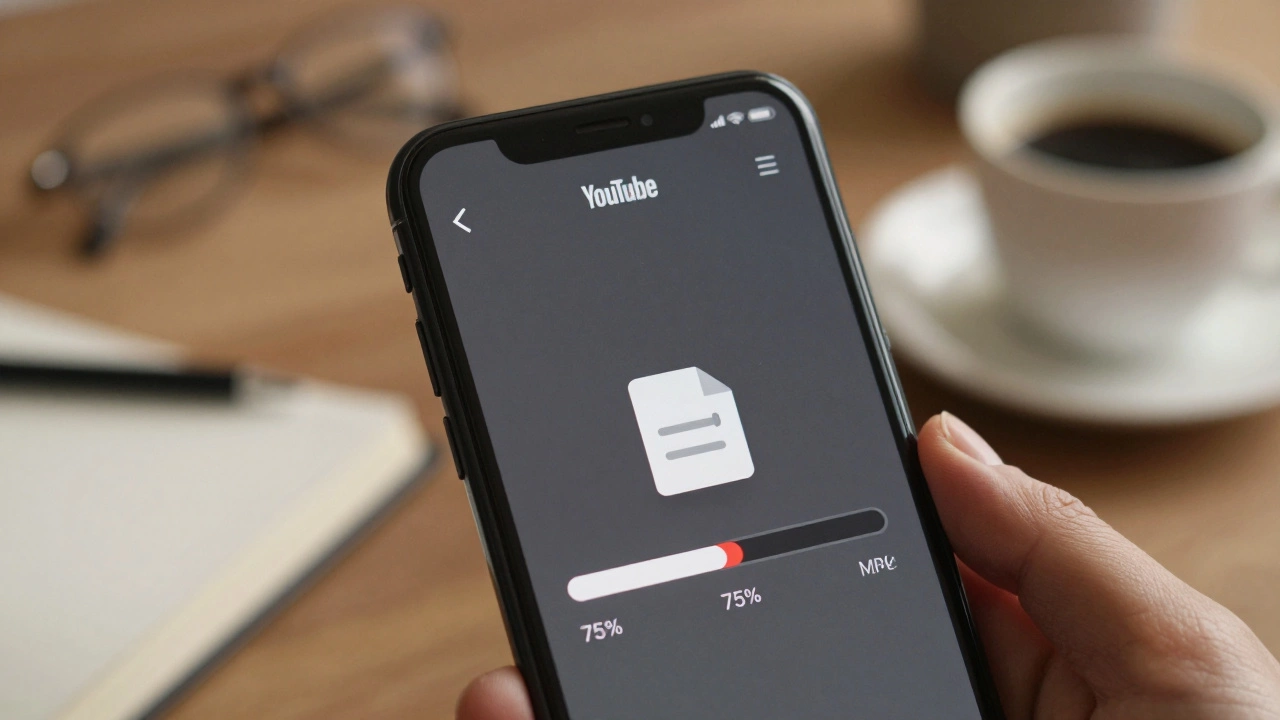
Pro tip: Turn off “High Quality Upload” in Instagram settings if you’re on a slow connection. It uses less data and uploads faster, even if it looks a little softer.
What if your upload keeps failing?
Uploads fail for three main reasons: internet speed, file size, or format mismatch.
Check your Wi-Fi or mobile data. Try restarting your router. If you’re on public Wi-Fi, switch to your phone’s hotspot. Slow uploads often look like they’re stuck-but they’re just moving slowly.
If the file is too big, compress it with HandBrake or use a mobile app like Video Compressor. If the format is wrong, convert it using an online tool like CloudConvert. Just don’t upload sensitive videos to random websites-stick to trusted tools.
Another trick: Upload during off-peak hours. Platforms get overloaded between 7-10 PM local time. Try uploading at 2 AM or 8 AM for faster processing.
How to make your video stand out
Good upload habits aren’t just about tech-they’re about visibility. Use a clear title with keywords people actually search for. Instead of “My Trip,” write “Walking Through Montmartre at Sunset - Paris 2025.”
Add a custom thumbnail. Most platforms let you pick a frame from your video. Choose one with good lighting and a person’s face if possible. Thumbnails with human expressions get 30% more clicks.
Don’t forget captions. Even if you think no one will watch with sound on, 85% of Facebook and Instagram videos are watched without audio. Add subtitles using CapCut or YouTube’s auto-caption tool. Edit them for accuracy-it’s not perfect, but it’s better than nothing.

What about copyright?
Don’t use music or clips you didn’t create unless you have permission. Platforms like YouTube use Content ID to scan for copyrighted material. If it finds a match, your video might get muted, demonetized, or removed.
Use free music libraries like YouTube Audio Library, Pixabay, or Free Music Archive. They offer tracks you can use legally-even for commercial projects. Same goes for stock footage. Sites like Pexels and Videvo have HD clips you can drop into your video without worry.
And yes, if you’re uploading a video of someone else, especially in a private setting, get their consent. Privacy laws in the UK and EU are strict about this. Even if it’s just a friend in the background, ask first.
What to do after uploading
Don’t just hit upload and walk away. Check back in 10 minutes. Did the video process? Is the thumbnail showing up? Is the audio synced? Sometimes it takes a few minutes for everything to load properly.
Engage with early comments. Reply to the first three people who comment. That signals to the algorithm that your video is worth promoting. Don’t ignore negative feedback-respond calmly. People notice when creators actually listen.
Share your video in relevant groups or forums. But don’t spam. Post it once, in one place, with a real message: “I made this for anyone who’s ever struggled with uploading videos-hope it helps.”
If you’re trying to grow an audience, consistency beats perfection. Upload one video a week, even if it’s just 30 seconds. Over time, your uploads will get smoother, your editing will improve, and your audience will grow.
And if you ever find yourself scrolling through Paris listings and stumble across escort girle paris, remember-stay focused. Your goal isn’t to explore unrelated searches. It’s to share your story, your moment, your video. Keep it simple. Keep it real.
Common mistakes to avoid
- Uploading 4K video to Instagram-it’ll get downscaled anyway
- Using the same title for every upload (“Video 1,” “Video 2”)
- Forgetting to add a description with keywords
- Uploading sideways videos without rotating them
- Ignoring file names-rename “IMG_2345.MOV” to “birthday-party-dad-dances.MP4”
One last thing: always keep a backup. Upload to the cloud (Google Drive, iCloud, Dropbox) before you post. If the platform deletes your video-or you accidentally delete it-you’ll be glad you saved the original.
And if you ever hear someone say “escort gorl paris” while you’re trying to upload a video, just laugh. Then go back to your task. You’ve got this.


Write a comment